 |
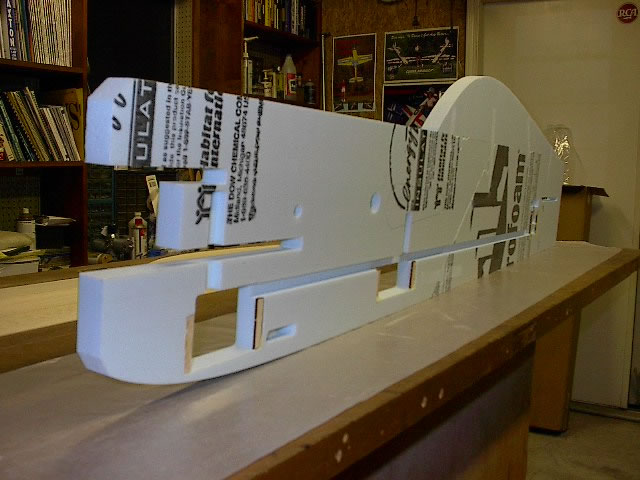
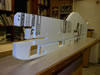
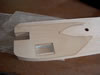
The fuse is Balsa
sheeted blue foam. The foam comes in three pieces which are joined during
the sheeting process. |
 |
There is some
prep work you will need to do to the foam before sheeting |
 |
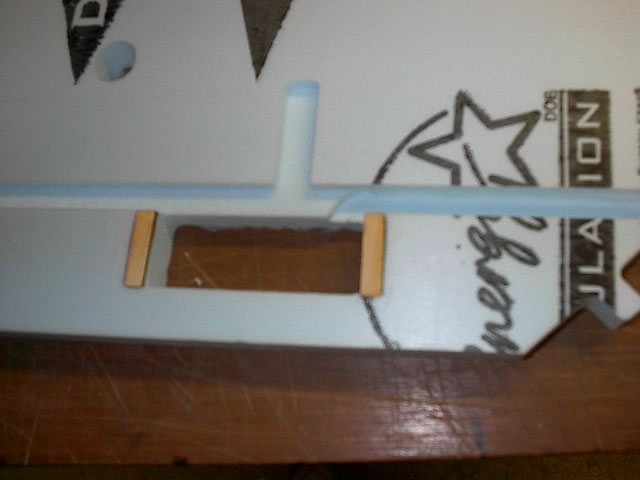
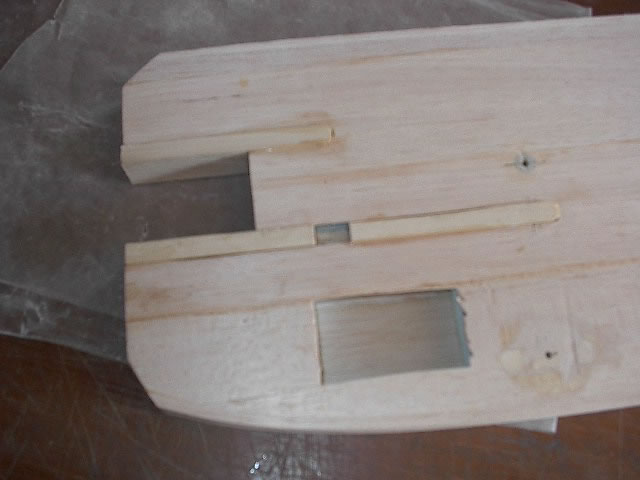
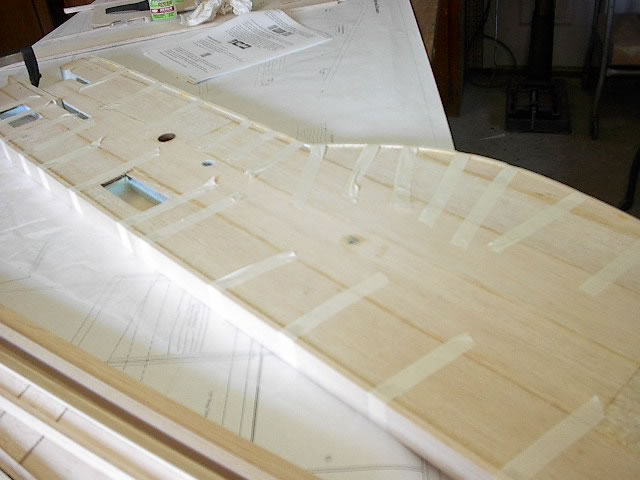
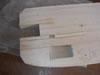
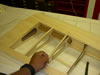
Hardpoints are
installed for hatches and servos. Also, I found the cutout for the servo
wires to be awfully shallow for the three tail servos/connectors. I used
my trusty Dremel with router attachment to increase the depth by an additional
3/16 inch. |
 |
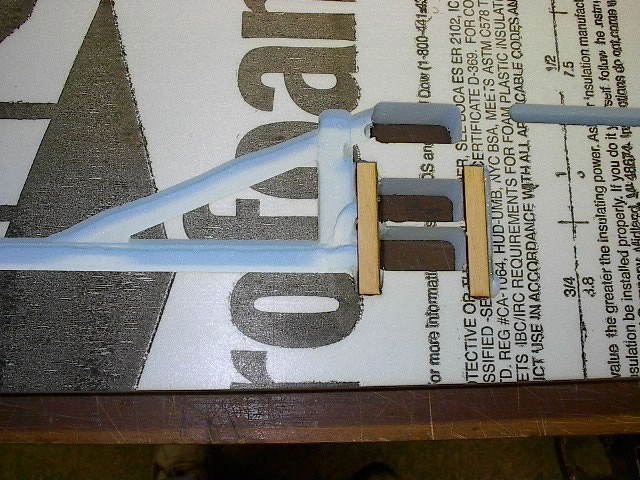
Also rather than
make a right angle turn from the top rear servo, I added a 45 degree channel
for that lead. |
 |
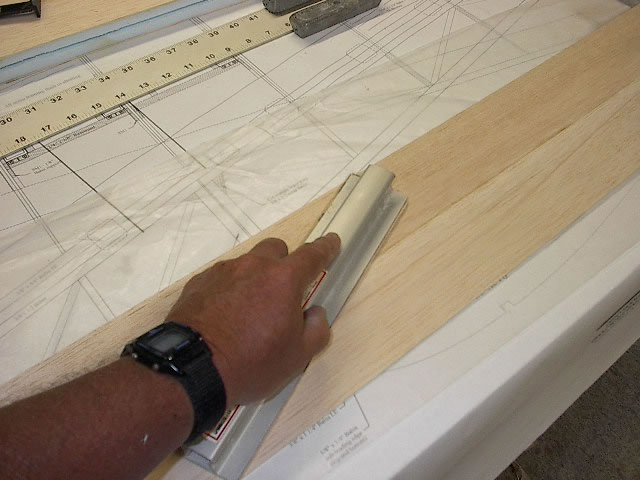
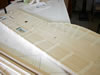
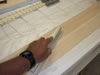
The skins are
made from 1/16 x 3 inch balsa sheeting. Edge glued, sanded and cut to
shape. Be sure to follow the manuals suggestions to get the most milage
out of your balsa. |
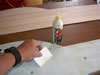 |
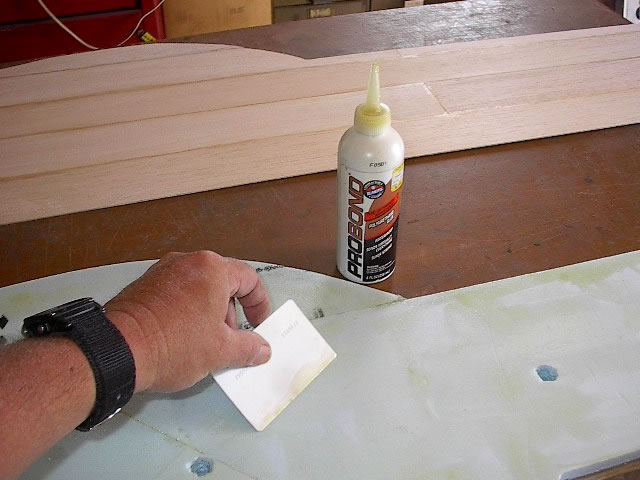
I used Elmer's
Pro-Bond PolyUrethene glue to join the foam and to adhere the sheeting.
I did one side at a time, left side first. That way I could make the cut-outs
for servos, engine rails, wing mounting dowels, etc. without having to
hunt for them. |
 |
Use plenty of
weight and let the Pro-Bond set overnight. |
 |
After
the Probond sets trim and sand the excell balsa skin. Install the wing
tube socket. The manual tells you to cut off a piece and install it. I
found it easier to keep square by gluing one end of the entire length
and then cutting it off after the glue dried. |
 |
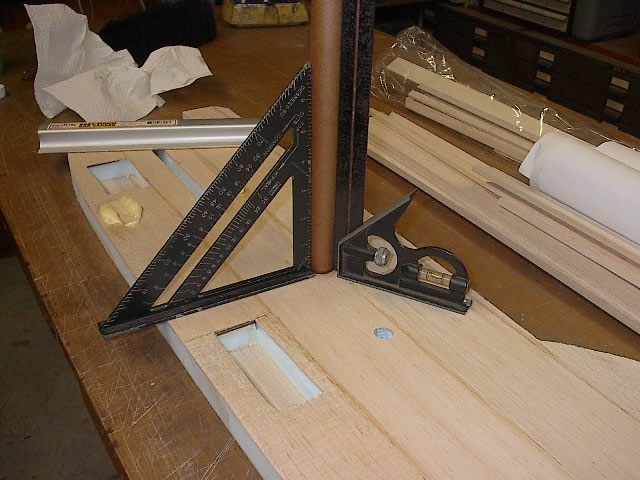
Next
the hardwood rails (engine mount) was installed and sanded flush with
the balsa sheeting. Note the notch in the bottom rail. This will be needed
with some throttle servo installations. |
 |
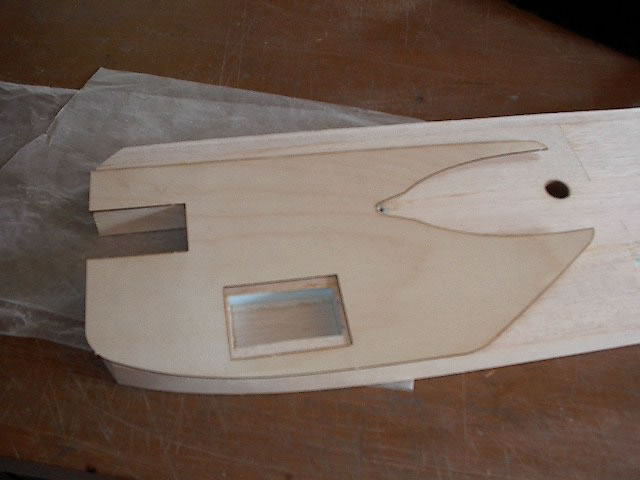
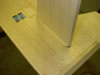
Once all the
hardpoints are in the balsa end, top, and bottom cap pieces are added.
I sprayed on a water and ammonia mix to get the balsa to bend around the
rounded sections. |
 |
The front end
is reinforced with plywood doublers. |
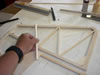 |
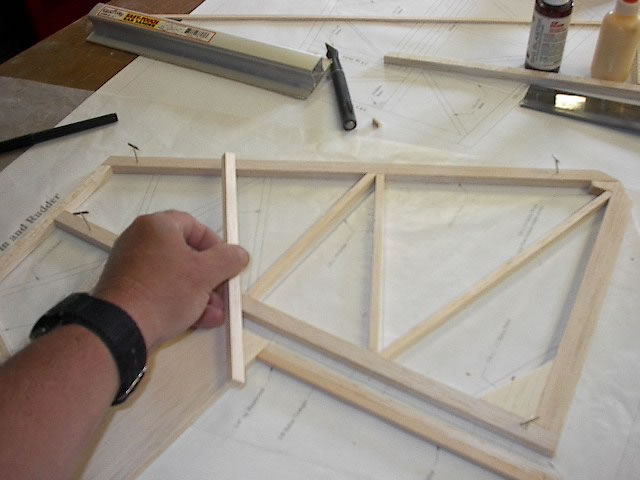
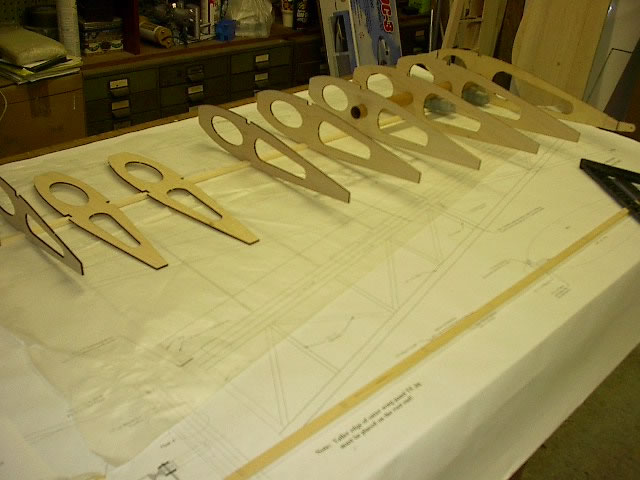
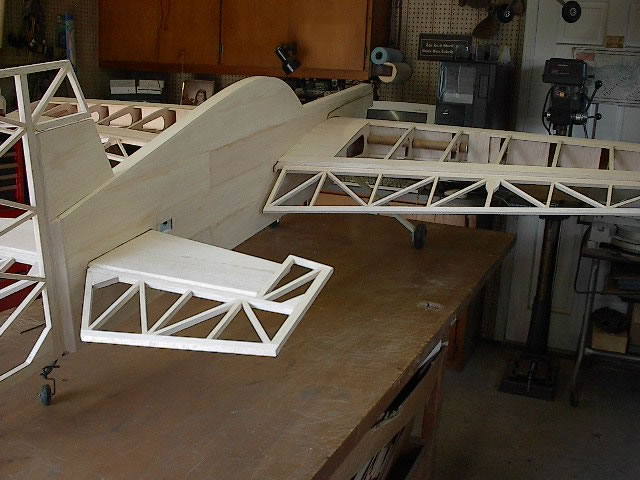
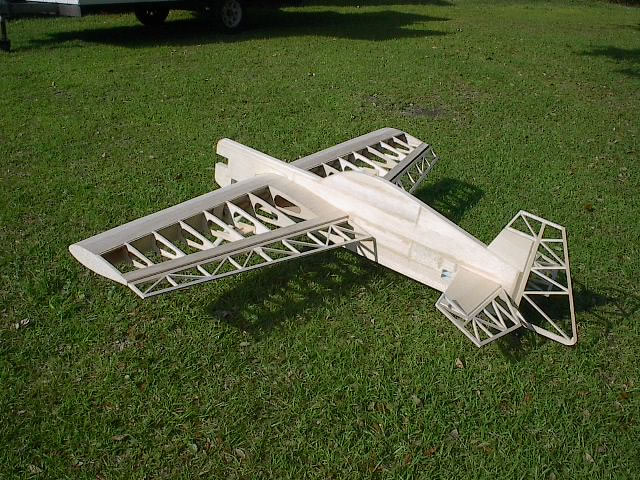
All moving surfaces
are stick built, truss type construction. |
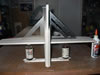 |
When installing
the tail group, do whatever is necessary to insure that everything is
straight and square. |
 |
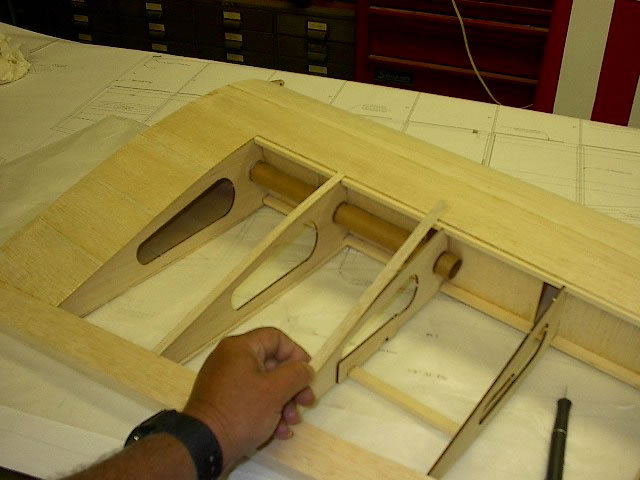
The cutout for
the stab was a little loose. I felt better reinforcing it with a piece
of triangle stock on both sides at the bottom only. |
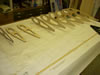 |
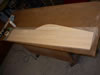
The wing is standard,
D-tube construction built directly over the plans. No surprises. |
 |
Top and bottom
sheeting is made from the 1/16" sheets. |
 |
There was not
enough material to make the rib cap strips. I made some from the scrap
left over after trimming the wing sheeting. |
 |
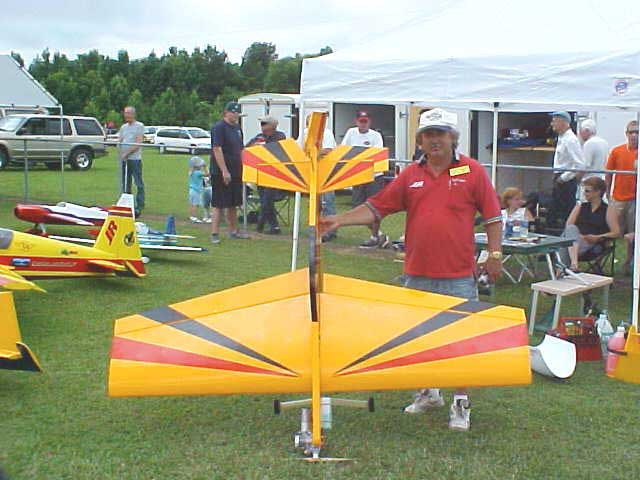
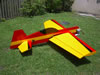
The finished
result is a nice, clean airframe. |
 |
Almost a shame
to cover it. |
 |
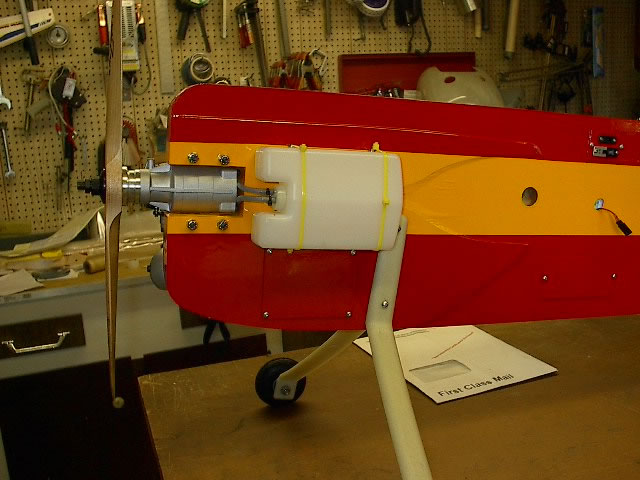
I used a JR331
mini servo for the throttle. Placed here, it was a direct shot to the
throttle arm. The engine chosen is an OS160 swinging a Zinger Pro 18x6.
More on this later. |
 |
The fuel tank
used is a Sullivan BT16 boat tank (part no. 390). This is a 16oz. tank
that lay close to the fuse. Also note the composite main gear which is
standard with this kit. |
 |
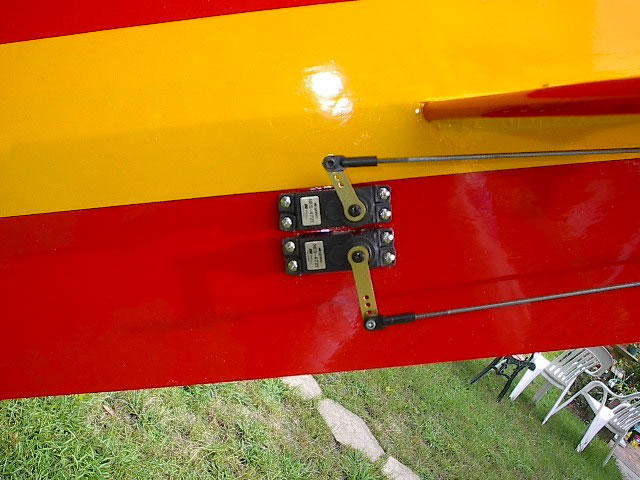
Hangar 9 servo
arms and ball links on every servo. |
 |
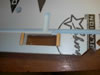
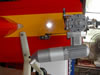
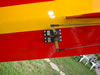
Shown here is a little panel I made to mount
the switch and charge receptacle on. I extended the channel for the
aileron extentions up about 3 inchs and mounted the switch directly
above. I check battery voltage before each flight, so I wanted the added
accessibility.
|
 |
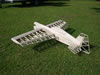
No ailerons yet,
but a first look at the almost finished product. |
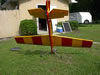 |
The bottom. |
 |
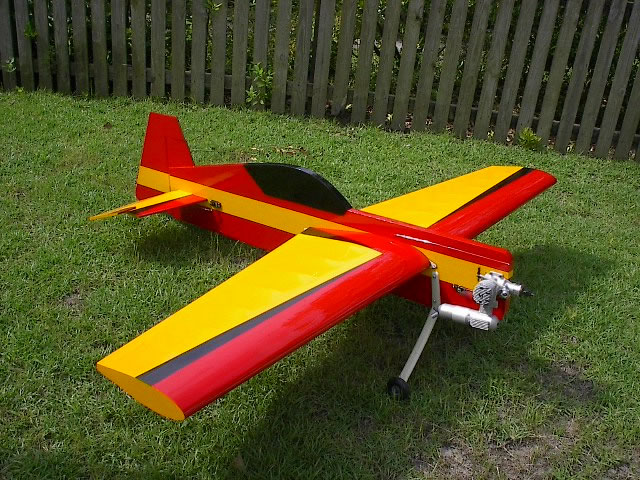
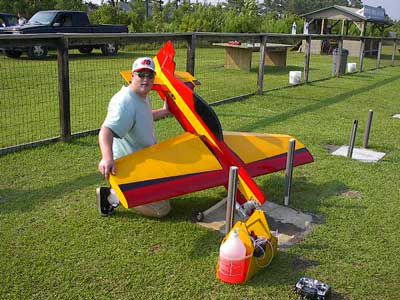
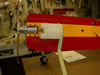
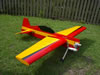
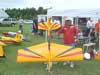
The finished
machine. Charged and ready to fuel. |
 |
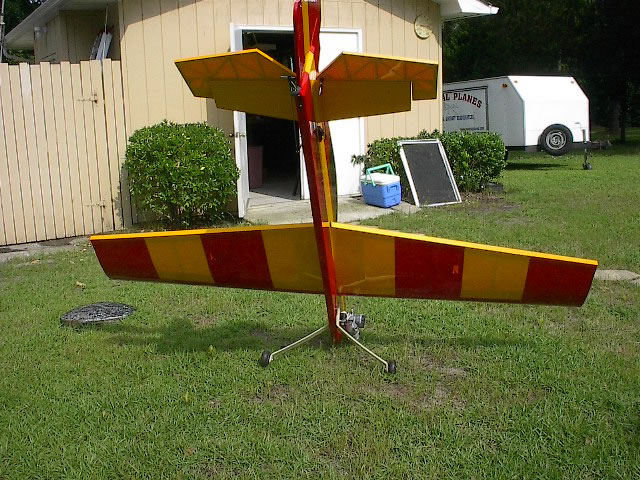
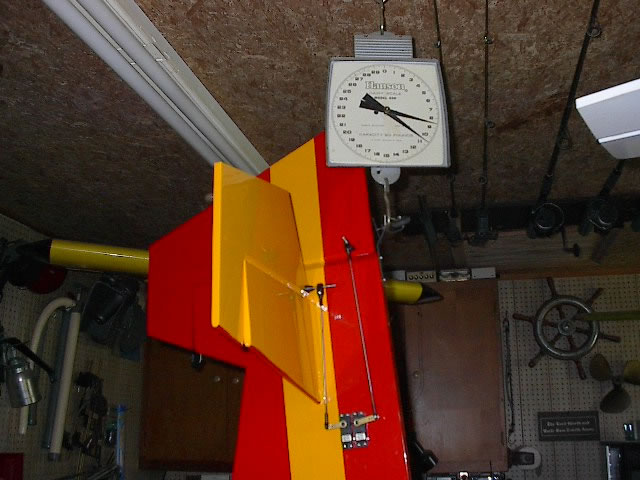
The big question.
10lb. 10oz. (dry) ready to fly. Not bad for 1638 squares. |
 |
About half way
though the building process my friend James Bristle asked me to build
one for him. He had his kit dropped shipped to my address. So what the
heck, I gave him the first one and built the second for me. While we both
flew his, I wanted to wait for mine before I offered any flight reports. |
|
Time Out
|
Time Out. While
I build number two. |
 |
This is my Ohio
GS540 #2. I used a different tail wheel assembly, Dave Brown foam wheels,
and a little smaller battery pack and this one came in at 10lb 6oz. |
|
Flying
|
This plane was exactly what I was looking
for. The OS160 is a perfect match. It will easily pull vertical out
of a tail slide. I won't go into all the cliches but picture this. Take
off at 1/3 throttle, leave the ground in about 10 feet. Fly out 2 feet
off the ground for about 30 ft. Do a wall...stop vertically at 10 ft.
Hover for about 30 seconds and do an end-do. Hover a while and do another.
Hovering and end-do's are very easy. Spins
and snaps need a little coaxing (the wing doesn't want to stall) but
look pretty good if you do them "deep". Not Carden Extra 330
good, but good. Lomchevoks are exciting. This plane will truly go end
over end. Slow flight and high alpha maneuvers are amazingly easy and
slow. This plane is almost impossible to stall.
In summery, If you can fly a high wing trainer,
you won't have a problem with this plane on low to moderate rates. If
you want an all out aerobat and 3D machine that will be docile enough
to try new things....this is it!!!! Regardless of your flying style,
you can't help but enjoy flying this bird.
|
|
Geesh!!!
Time Out Again
|
Tonight I start
#3. This one will be for my friend Nelson Phillips |
|
Disclaimer
|
I
am in no way sponsered or otherwise associated with OMP. I paid full price
for my kits.
If you have questions about this review email me at rcflyer@coastalplanes.com |